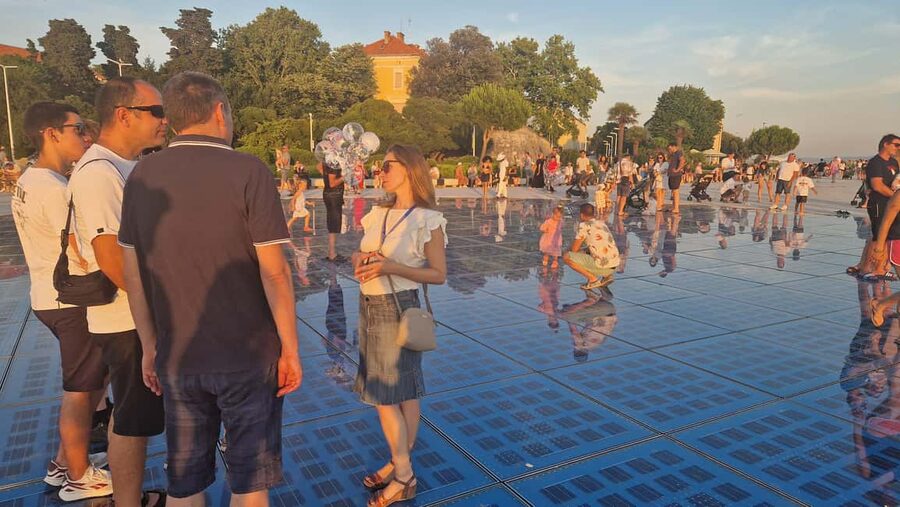
History starts the moment you meet at Greeting to the Sun. This small-group walk strings together Roman, early medieval, and local life in about two hours, with stories you’re unlikely to stumble upon alone. I like how it’s built around specific landmarks you can actually see, and how the pace leaves time for photos; one watch-out is that it’s a walking tour, so you’ll want comfortable shoes for uneven old-town streets.
What I also really like is the way the tour connects the famous highlights—like St. Donatus—to the lesser-noticed bits that give Zadar its personality. You also get a food stop with local produce tasting, which makes the history feel lived-in instead of museum-only. If you’re expecting a deep museum-style lecture with lots of indoor time, this may feel more like an efficient street-level route.
Small group limit (up to 10) helps keep questions practical. And the guide background matters: Maria (named in multiple reviews) is praised for explaining everything with clear detail, and Maggie (also cited in reviews) describes her guide as highly professional.
Key things to know before you go
- Greeting to the Sun as your starting cue so you begin with context, not guesswork
- St. Donatus and St. Anastasia shown as symbols, not just buildings you pass by
- Rooftop-and-church-photo moments like the romanesque apses of St. Chrysogonus
- Zadar food market tasting to balance the walking with something you can actually taste
- An off-map stop near People’s Square that feels like finding the city’s shortcuts
- A calm finish in Queen Jelena Madijevka Park for photos when the route ends
In This Review
- Starting at Greeting to the Sun: Your 2-Hour Time Machine
- Roman Forum Remains and St. Donatus: Zadar’s Most Recognizable Anchor
- St. Mary’s Convent and St. Anastasia Bell Tower: Faith as a City Map
- Melia Aniana Arch and St. Chrysogonus Apses: Built for Photo Stops
- Zadar Food Market Tasting and People’s Square: Local Taste Meets Off-Map Stops
- Three Eastern Entrances to Old Town and Queen Jelena Park Finish
- Price and Small-Group Value of a $29 Walking Tour
- Who Should Choose This Tour (and Who Might Want to Skip It)
- Should You Book This Zadar Walking Tour?
- FAQ
- Where do I meet the guide?
- How long is the tour?
- How much does it cost?
- What’s included in the tour?
- How big is the group?
- What languages are available?
- What’s the cancellation and booking flexibility?
Starting at Greeting to the Sun: Your 2-Hour Time Machine
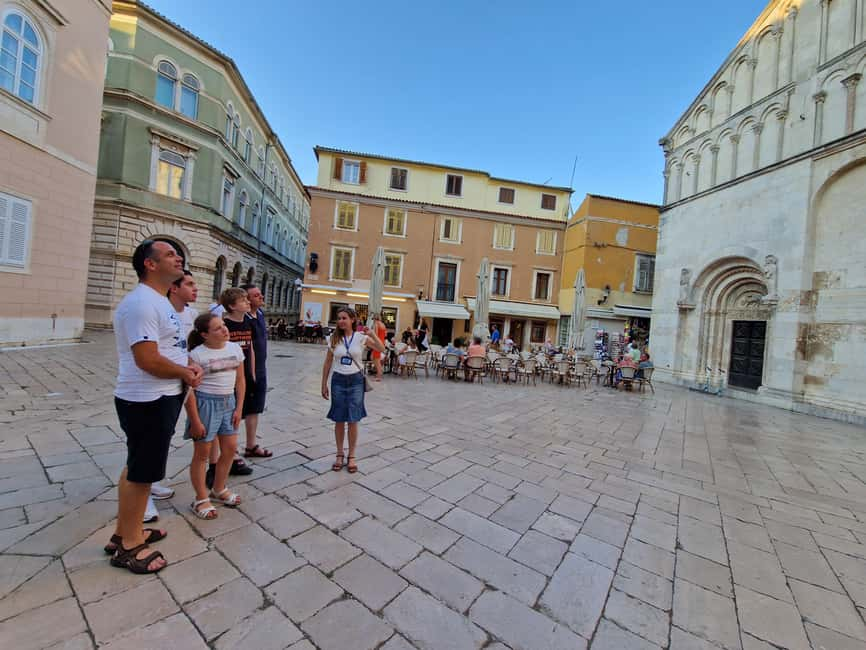
Your tour begins at the Greeting to the Sun installation, which is a smart move. You start with a landmark that feels modern and unmistakable, then you walk straight into the older layers of the city.
From there, the guide leads you through a route covering roughly 3000 years of history in just 2 hours. That’s a good sign for first-timers: you get orientation fast, and you’re not stuck walking in circles wondering what you’re looking at.
Because it’s a small group (up to 10), you can ask questions and actually hear the answers. In practice, that makes a route like this feel like a conversation with Zadar, not a checklist.
Roman Forum Remains and St. Donatus: Zadar’s Most Recognizable Anchor
One of the first big turns is the walk toward the remains of the Roman Forum. Roman traces can be easy to ignore when you’re on your own, because there’s often not a big sign yelling Roman. Here, the guide’s job is to point out what you’re seeing and why it mattered.
Then you move to the church of St. Donatus, described as Zadar’s emblematic symbol built in the 9th century. Even if you’ve seen photos before, understanding the “why” behind its prominence changes how you look at it. Instead of just admiring a tall, distinctive silhouette, you start noticing the city’s timeline and influence.
This is also where you’ll appreciate that the tour doesn’t jump randomly between eras. It nudges you along in a logical line—Roman → early medieval → religious landmarks—so your brain doesn’t feel like it’s trying to catch a moving train.
St. Mary’s Convent and St. Anastasia Bell Tower: Faith as a City Map
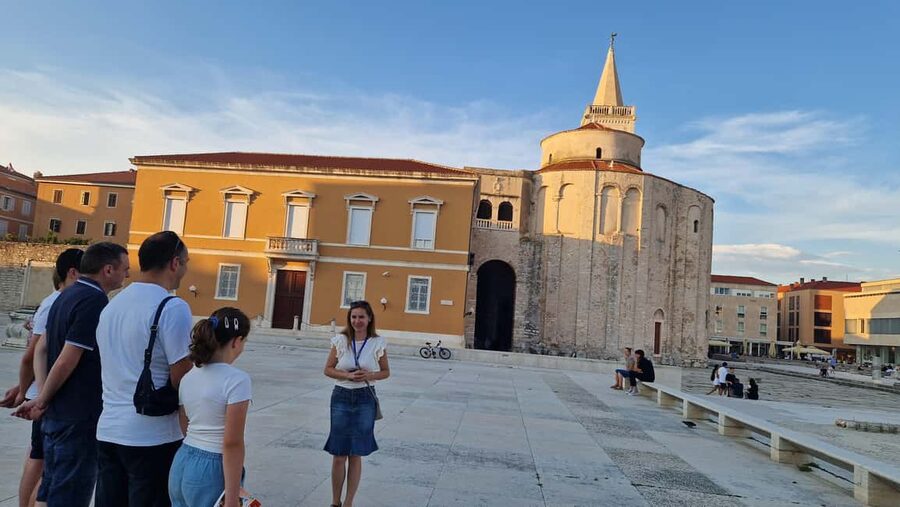
The tour keeps going with the importance of St. Mary’s convent nearby. You may not think of convents as “front-row landmarks,” especially if you’re used to sightseeing by famous facades. But convent history often shapes where communities gathered, walked, and built.
Next comes a pass by St. Anastasia bell tower on your way toward the arch stop. Passing a bell tower sounds minor, but it’s usually the moment where the guide helps you read the city’s visual cues: which towers signal older urban planning, and how religious architecture became a kind of navigation system over time.
This section is a good example of why a guide helps. From the street, you can see structures, but it’s harder to connect them to the role they played in daily life.
Melia Aniana Arch and St. Chrysogonus Apses: Built for Photo Stops
You’ll stop at Melia Aniana arch, which the route frames as an identifiable piece of Zadar’s layered past. Arches are often overlooked if you’re scanning for bigger sights, so having it called out matters.
Then the tour delivers one of its most satisfying visual moments: taking photos of the most beautiful romanesque apses of church of St. Chrysogonus. Apses are the kind of architectural detail that can slip right past you. With the guide pointing them out, you notice shape, style, and how the building reads from different angles.
My practical advice here: bring your phone camera (or a real camera) and slow down for these stops. Even if you think you’ve got a good photo already, a quick reposition from the guide’s suggested angle can make a huge difference.
This is also where the small group format helps. You won’t spend your time waiting behind a crowd to take one decent picture.
Zadar Food Market Tasting and People’s Square: Local Taste Meets Off-Map Stops
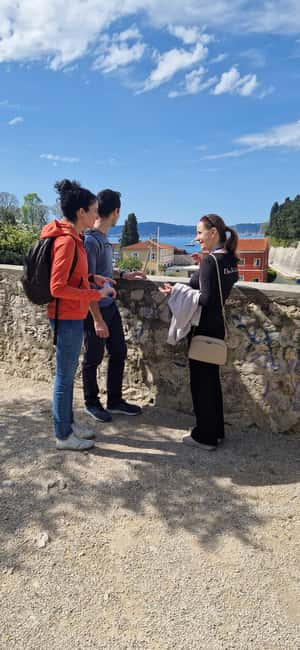
After the church-photo moment, the route heads to the Zadar food market. This is more than a break. It’s the part of the tour that grounds all the architecture and dates in what people actually do in the city.
You’ll taste some local produce to round out the experience. That’s a smart balance: after walking and learning, you get something tangible that doesn’t require translating a sign. It also gives you a sense of what to look for later when you’re wandering on your own.
Then you reach People’s Square, including one of the route’s standout “don’t-wait-for-the-map” experiences. The tour points out a place near there that isn’t charted on city maps, described as a hidden-to-most spot. You don’t need to understand everything at once; the key is that the guide helps you spot the corners and pathways that make Zadar feel more personal.
If you like travel where you leave with a few “I can’t believe I found this” moments, this part is where you’ll feel it.
Three Eastern Entrances to Old Town and Queen Jelena Park Finish
Near the end, the tour shows remains of three eastern entrances to the Old Town of Zadar. Entrances are powerful because they tell you how a city managed movement and control. On your own, they can look like leftover fragments. With the guide’s explanation, those remnants become a map of how people entered, traded, and moved through the older urban core.
Finally, the tour ends in Queen Jelena Madijevka Park, where you can take beautiful photos of picturesque sights. Ending in a park is a practical choice. You get a natural decompression moment after a concentrated walk through history and architecture.
This finish also helps you keep the day flexible. You’re not trapped at a single attraction. You’re placed in a spot where you can keep exploring at your own pace once the tour ends.
Price and Small-Group Value of a $29 Walking Tour
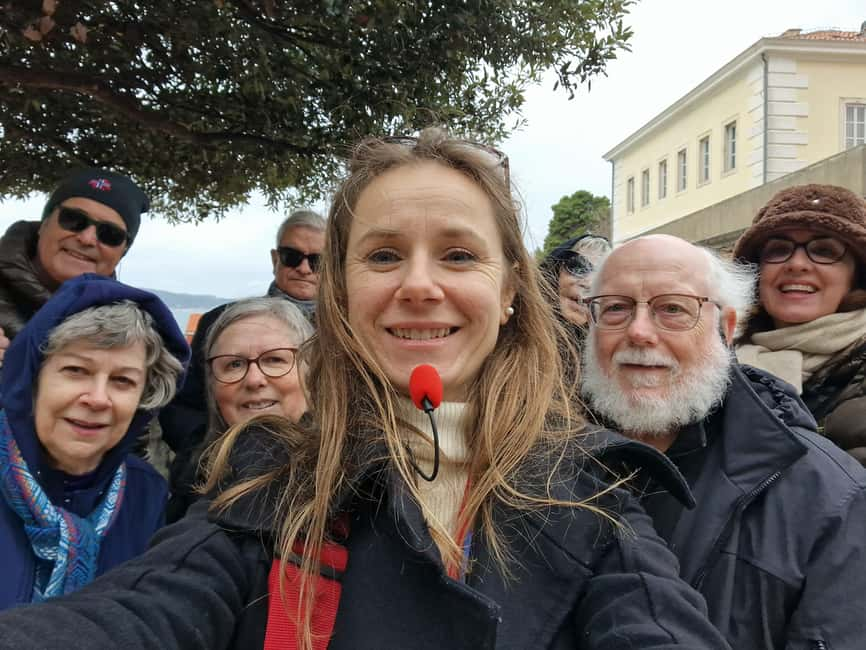
At $29 per person for a 2-hour, guided walking route, the real value is how much you pack in without overstuffing your time. You’re not just seeing famous buildings. You’re also getting guided interpretation and a produce tasting.
A big chunk of cost in guided tours is time and coordination. Here, that time is used well: it connects Roman remains, a 9th-century landmark, bell tower context, a specific arch, and romanesque apses, then caps it with food tasting and photo-ready finishes.
The small group size (limited to 10) matters too. Larger groups can turn “hidden” details into rushed stops. Here, the format supports slower looking and better questions—exactly what you want for architecture and old-town street stories.
In short: if you’re trying to make the most of a limited window in Zadar and you want more meaning than just photos, this price feels fair for what you get.
Who Should Choose This Tour (and Who Might Want to Skip It)
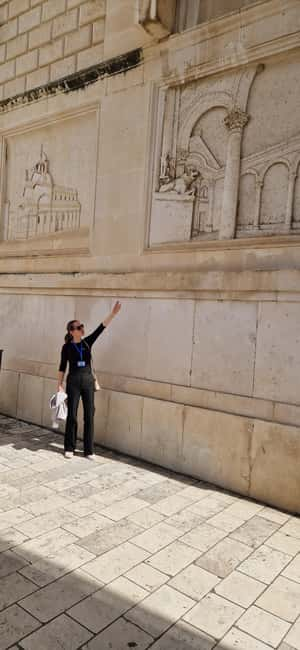
This tour is a strong fit if you:
- Want a guided walking route that helps you read Zadar instead of just moving through it
- Like architecture details, especially romanesque features like church apses
- Enjoy food in the middle of sightseeing, not as an afterthought
- Prefer smaller groups so explanations actually land
It may be less ideal if you:
- Need lots of indoor time, since this is built around walking and outdoor stops
- Want a super-long, slow pace with extended time at each location
- Prefer a purely “museum” style of history presentation
If you’re the kind of traveler who likes to look closer after someone points the right direction, you’ll probably love this.
Should You Book This Zadar Walking Tour?
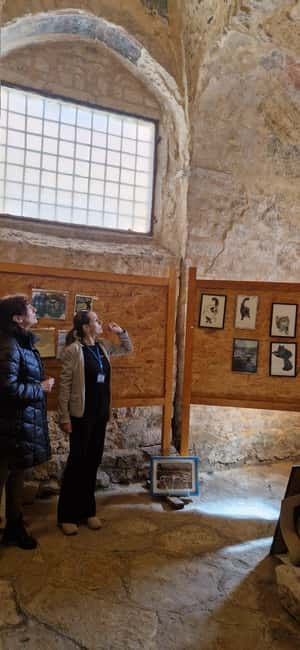
Yes, if you’re in Zadar for a short stay and you want a route that feels like it’s showing you the city’s logic. Starting at Greeting to the Sun and working through Roman remains, St. Donatus, and romanesque apses gives you a clear timeline without turning into a lecture marathon.
I’d book it especially for the combination of:
- Photo stops with guided framing
- A local produce tasting that breaks up the walking
- A small group size that keeps the experience practical
If your schedule is tight, the 2-hour length is perfect for fitting into a day without sacrificing dinner plans. And if you prefer flexibility, you can plan with the tour’s flexible booking approach and free cancellation window (given up to 24 hours in advance).
Overall: this is the kind of tour that makes your self-guided wanderings later much easier. You’ll know what you’re looking at, and you’ll have a few extra places in mind when the tour ends.
FAQ
Where do I meet the guide?
Meet at the Greeting to the Sun installation.
How long is the tour?
The tour lasts 2 hours.
How much does it cost?
It’s priced at $29 per person.
What’s included in the tour?
You get a walking tour and a tasting of local produce.
How big is the group?
The tour is limited to a small group of up to 10 participants.
What languages are available?
The live tour guide offers English and Spanish.
What’s the cancellation and booking flexibility?
You can cancel up to 24 hours in advance for a full refund, and there is a reserve now & pay later option.